
How to order Openprovider Email Solution
This article describes how to order the Openprovider Email Solution/Service.
- Inside the RCP (Reseller Control Panel), navigate to Email Accounts.
Step 1: Order the service
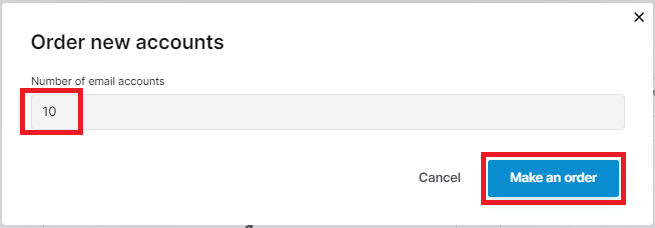
Click on the Order new account button

Enter the number of email accounts/email boxes you want to create (the service is billed per email account you order) and click on Make an order button. You may take a look at the pricing and features here.
Step 2: Add domain
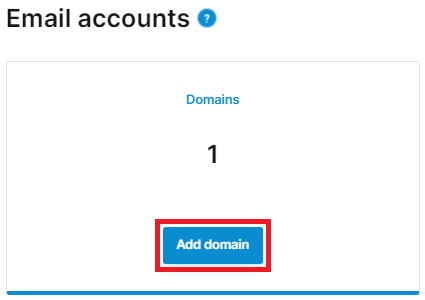
Click on the Add domain button
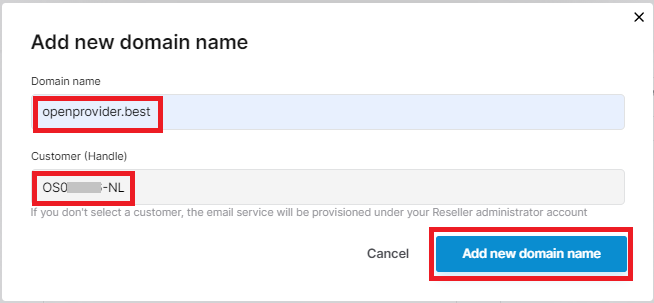
Enter the domain name and owner handle of the domain (if the domain is registered through Openprovider). If the domain is registered via another registrar/provider, you can select the customer handle who will be using the mail service or your reseller handle.
IMPORTANT: we do not support emails for subdomains yet.
Step 3: Add email account(s)
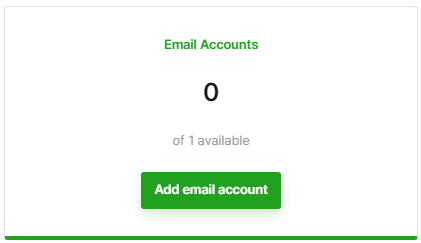
Now, you are all set to create email accounts.
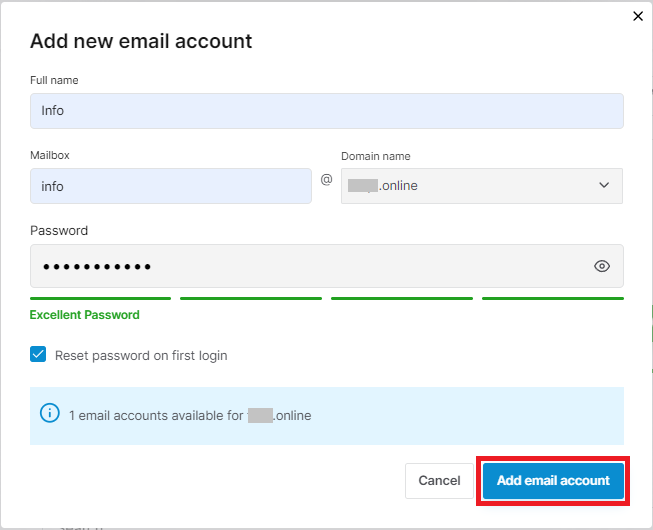
Note: Email passwords must contain at least one number and one uppercase and lowercase letter and one special character: !@#$%^& and at least 8 or more characters.
Important Note : The option to add external domains to emails has been temporarily removed in order to make some changes. We expect it to be available again within 2–3 weeks.