# How to order a SSL Certificate
This section will describe how to order a SSL Certificate in the SSL Panel.
In case you are interested to learn how to do this via API, please click [here](https://openprovider.help/books/api-integrations/chapter/api-guides-ssl-module-API-Guides-SSL-Module)
## Step 1
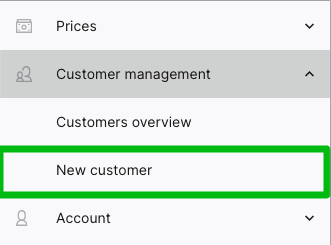
The most important step when requesting a SSL Certificate is to make sure all details you use in the request are up to date. Especially with OV and EV orderes, we advise to first double check the handles you are about to use, or [create a new handle](https://cp.openprovider.eu/web/action/index#/customer/new) with the latest information. Make sure the handle has a valid firstname / lastname of a contactperson who would be available for a verification-call. (required for OV and EV certificates)
This can not be changed once the order is submitted.
## Step 2
Go to the [SSL Panel](https://cp.openprovider.eu/web/action/ssl#/order) and select the SSL Certificate you wish to request.
Not sure which type you need to order? You can find an [explanation of all types](https://openprovider.help/books/ssl-certificates/page/different-types-of-ssl-certificates-dv-ov-ev-explained) here.
## Step 3
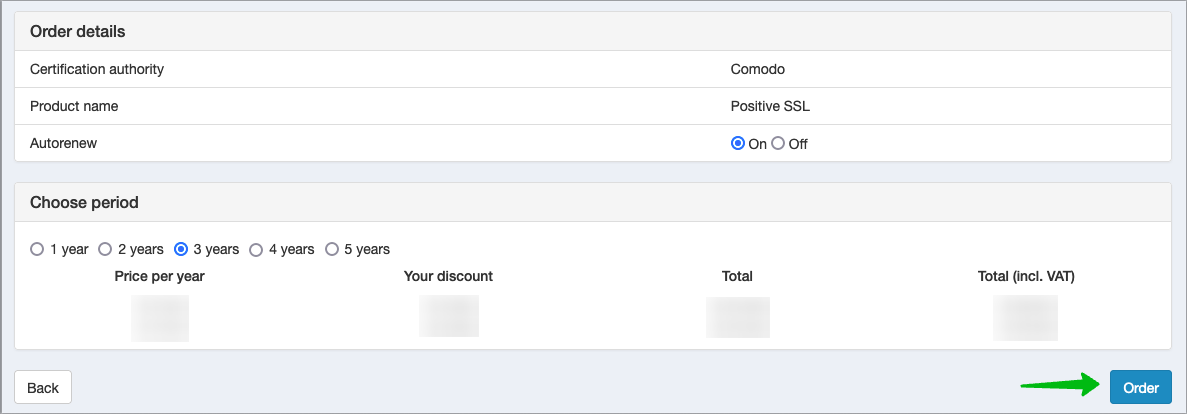
On the following page, you can toggle the auto renew feature on or off and select for how many years you want to order the SSL Certificate. In case you select a 2+ years certificate, an [Subscription SSL](https://openprovider.help/books/ssl-certificates/page/multiyear-ssl-certificates-subscription-ssl-certificates) will be created. Click on "Order" to proceed with the request.
## Step 4
Fill in all the required data for your order.
Contact data
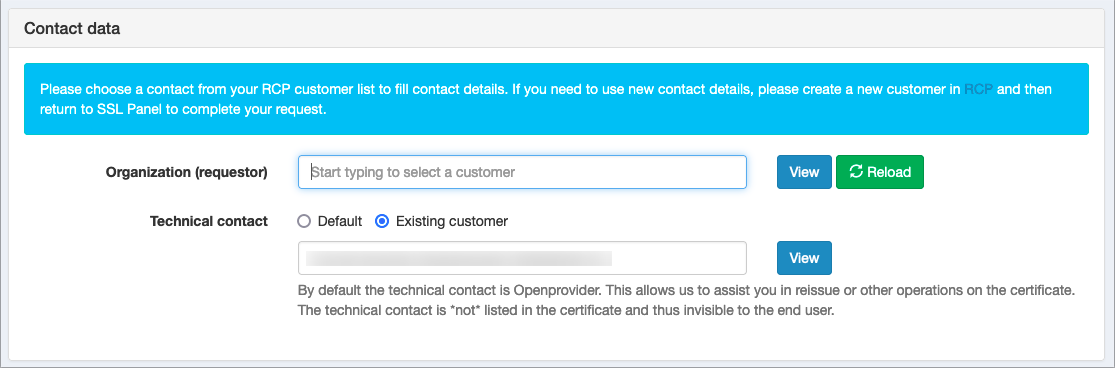
**Important!** The handle which you select as "Organisation (requestor)", will be used for the SSL certificate. **The data from this handle will be used for the SSL owner and for the SSL validation.** If any data is invalid or outdated, please go back to the customer management and update the handle before requesting the SSL.
We advise to leave the "Technical contact" assigned to Openprovider (selected by default) for managing purposes.
Technical data
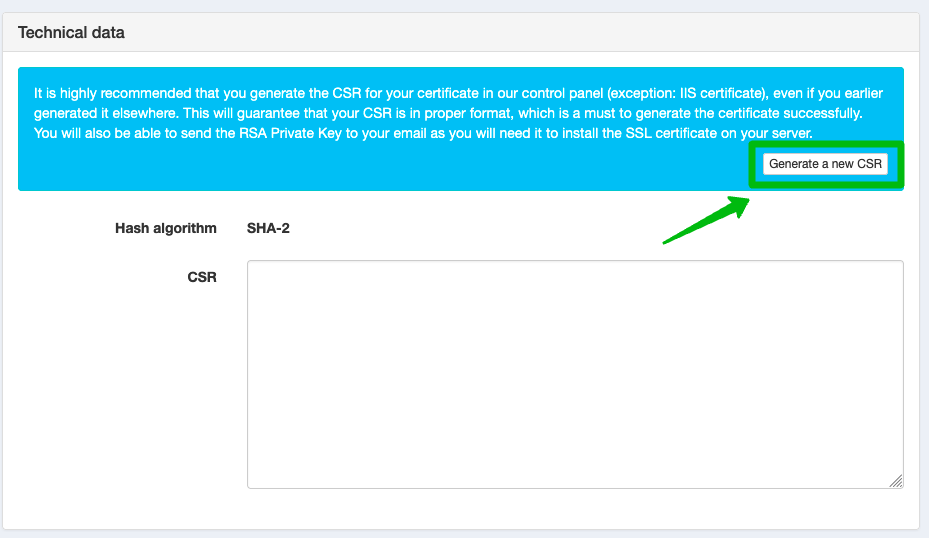
It is highly recommended that you generate the CSR for your certificate in our control panel (exception: IIS certificate), even if you earlier generated it elsewhere. This will guarantee that your CSR is in proper format, which is a must, to generate the certificate successfully.
**Important!**
You will need this CSR and Private key during installation of the SSL on your server. Make sure to store the private key locally as this will will not be stored by us.
Lost the private key? Click [here](https://openprovider.help/books/ssl-certificates/page/where-to-find-the-private-key-of-my-ssl-certificate)
## Step 5
At the bottom of the page, there are some additional options:
You can enable DNS automation, very useful when the DNS zone is managed in Openprovider and you wish to validate the certificate via DNS validation.
Add the www/non-www domain to your order (additional information [here](https://openprovider.help/books/ssl-certificates/page/is-www-automatically-included-in-my-ssl-order)).
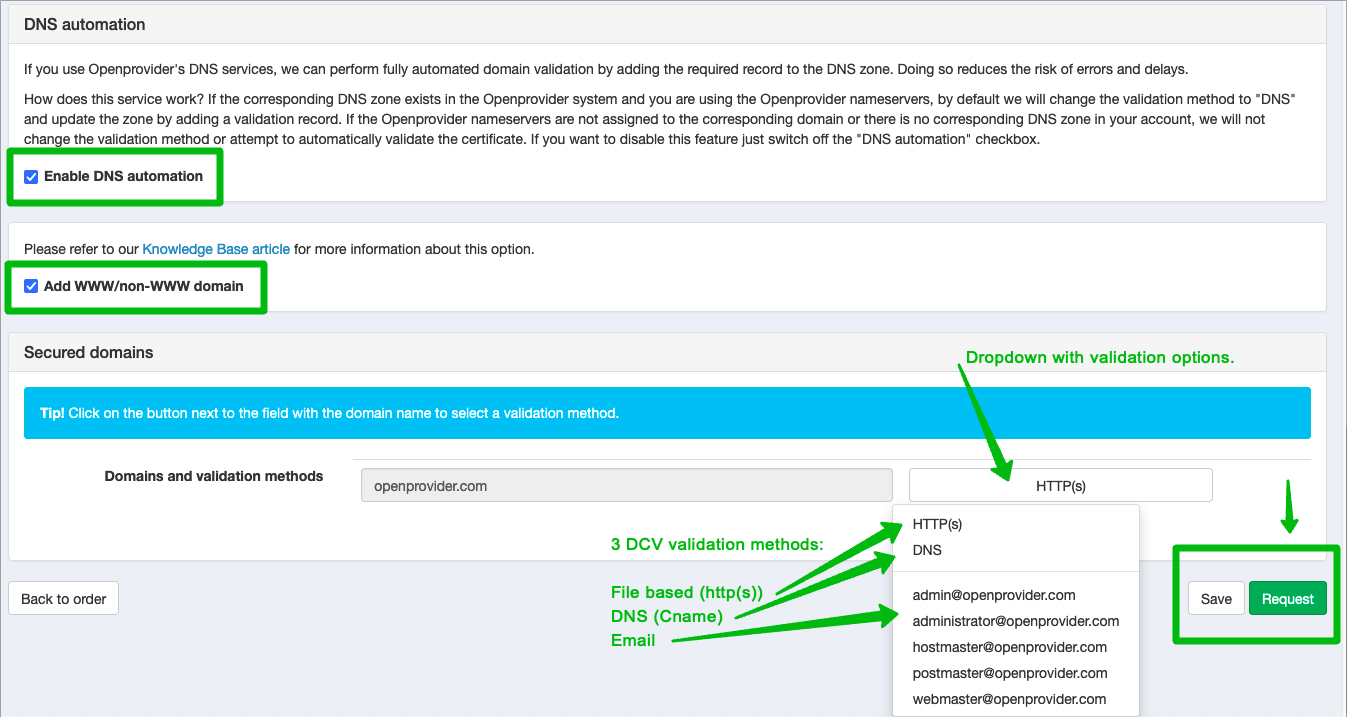
Once everything is filled in, you can select the validation option.
By default this is set to Http(s) but via the dropdown you can select all available options; http(s), DNS or e-mail. More details about the validation methods can be found in the [How to validate a SSL order](https://openprovider.help/books/ssl-certificates/page/how-to-validate-a-ssl-order) article.
To submit the request, just click on "**Request**".